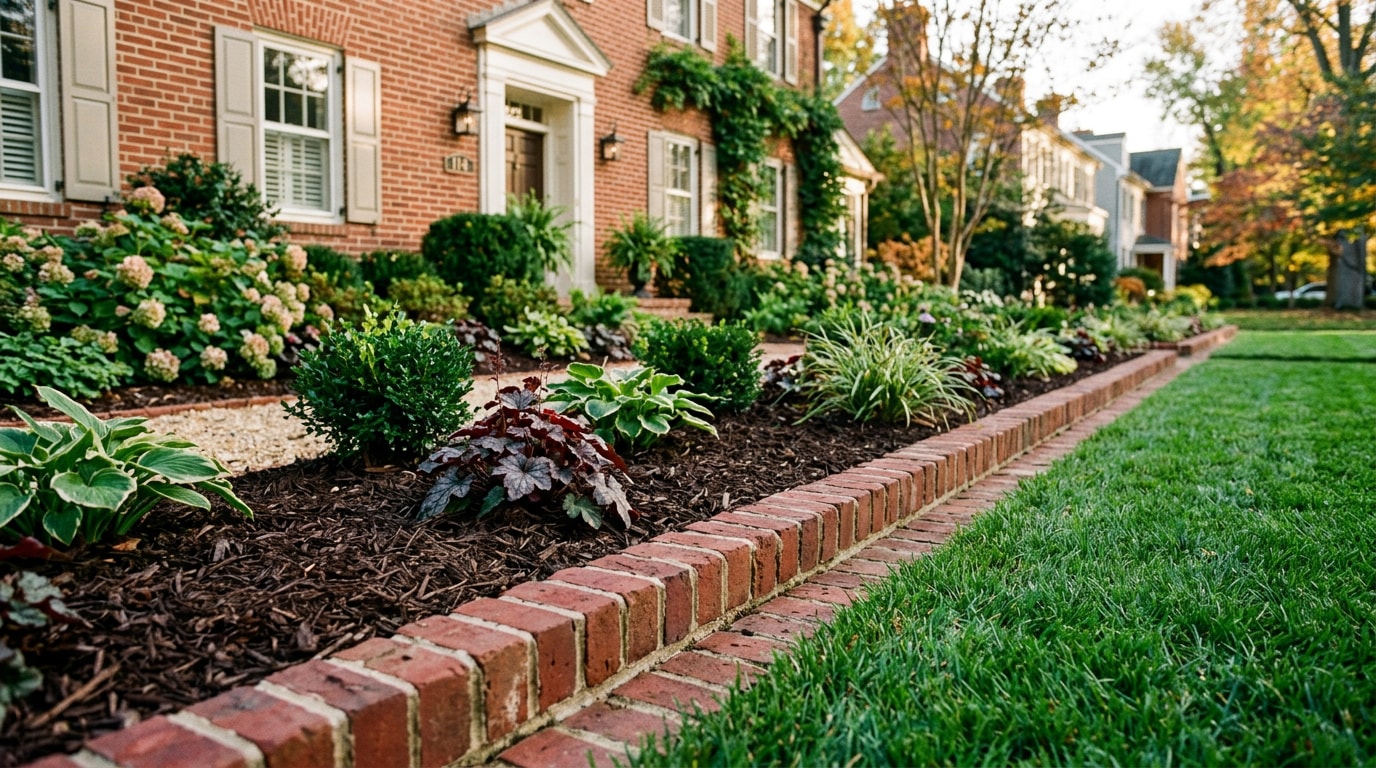
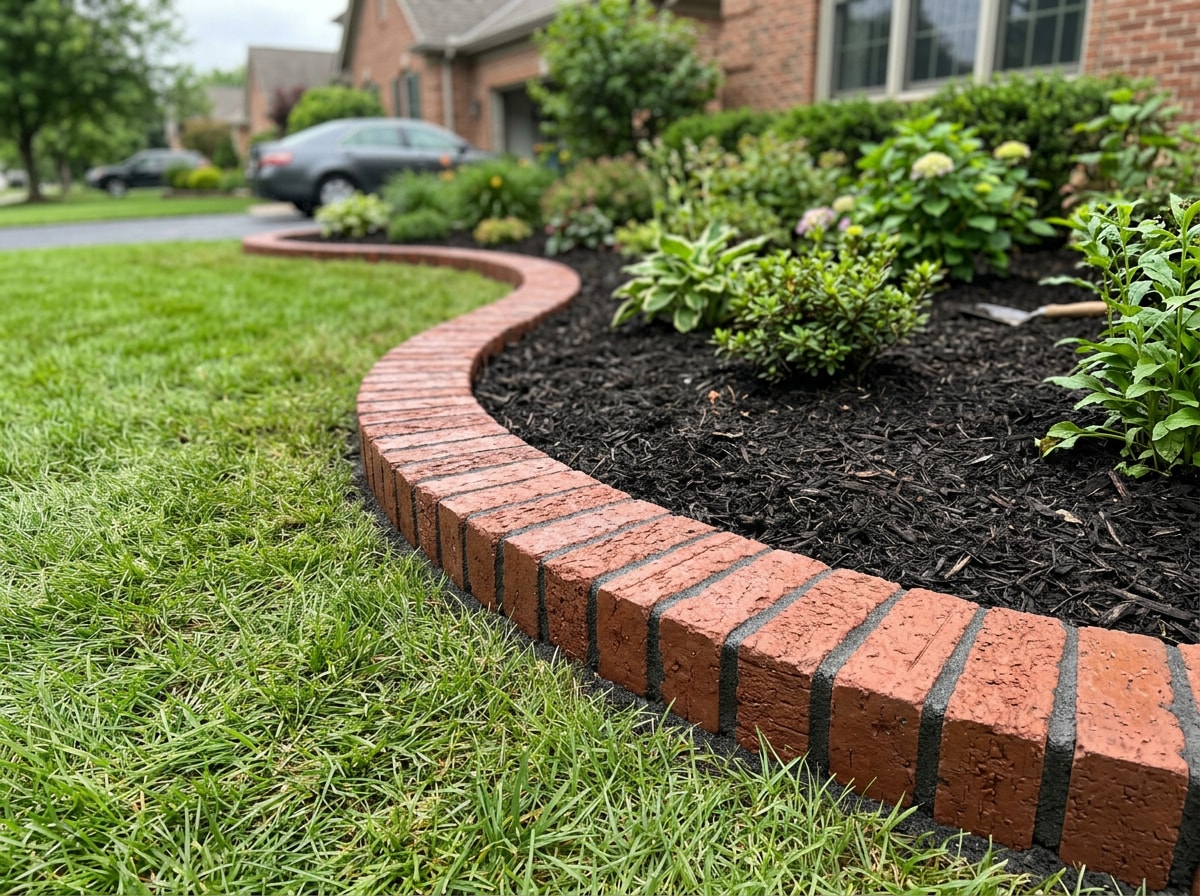
Brick edging for landscaping in Alexandria, VA gives garden beds, walkways, and lawns a clean border while holding soil and mulch in place through freeze-thaw winters. Whether you're planning a new border, patching a cracked one, or comparing contractor quotes, the details below (brick grade, base depth, mortar vs. sand) decide whether it lasts five years or thirty.
Brick Edging Services in Alexandria, VA
Most homeowners reach out for one of four reasons. Each one calls for a different approach, materials list, and price point.
Brick Edging Installation
New brick edging makes sense when you're carving out fresh flower beds, framing a walkway, or separating lawn from garden space. A well-set border is one of the simplest ways to define a yard's structure without a full hardscape overhaul. If you're also planning the walkway or patio it borders, our brick masonry team can scope both at once.
Brick Edging Repair
Not every damaged border needs full replacement. A few shifted or cracked bricks from frost heave or a lawnmower strike can usually be reset in their original base. Our masonry repair crews handle this as a standalone visit in most of Alexandria.
Brick Edging Replacement
When a border is outdated, badly deteriorated, or doesn't match a renovated landscape, full replacement is the better investment. It's also the moment to switch brick patterns or add gentle curves instead of straight runs.
Brick Edging Maintenance
Uneven or crumbling edging lets soil erode and grass creep into beds over time. Routine upkeep, resetting a few bricks, topping off joint sand, keeps borders doing their job. If you're refreshing beds for the season anyway, our Alexandria mulching guide covers timing and cost for that companion project.
What Brick Edging Costs in Alexandria, VA
Online per-linear-foot calculators are all over the map, some quote $2 a foot, others quote $30, because they're measuring different things: raw material only, versus fully installed with mortar, demo, and drainage. Treat them as a starting point, not a quote.
Here's what local projects typically run, based on scope:
| Project Type | Typical Cost Range | What Drives the Price |
|---|---|---|
| New installation, sand-set | $1,000 – $3,000 | Bed length, number of curves, site access |
| New installation, mortar-set | $2,500 – $5,500 | Mortar labor, brick cutting, drainage prep |
| Repair / resetting | $250 – $900 | Number of bricks affected, base condition |
| Full replacement | $3,500 – $7,000+ | Demolition, new base, pattern upgrade |
Larger properties, tight curves, or a switch to mortar-set construction push costs toward the higher end of each range. Request a quote and we'll measure your bed footage on-site instead of guessing from a national average.
Picking Brick Rated for Outdoor Use
Not every brick sold at a home center is rated for exterior landscape use. Brick is classified by grade based on how well it resists freeze-thaw damage, and that grade is the single biggest factor in whether your border survives a Virginia winter.
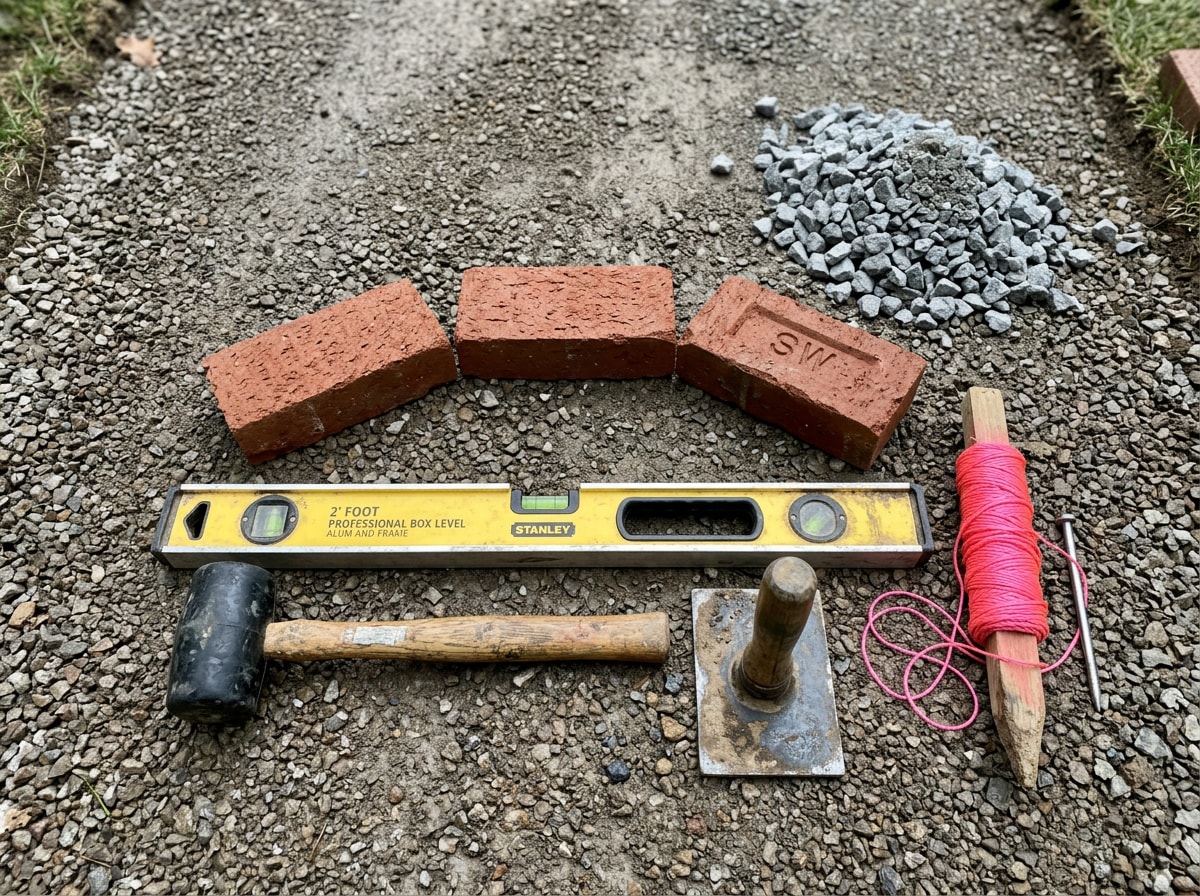
Look specifically for Grade SW (Severe Weathering) on the pallet tag or spec sheet. According to the Mason Contractors Association of America, building brick has several grades depending on resistance to damage from freezing when saturated, in order of durability: Severe Weathering (Grade SW), Moderate Weathering (Grade MW), or Negligible Weathering (Grade NW) . SW-rated brick is fired denser and absorbs less water, which matters in a region where temperatures swing above and below freezing repeatedly rather than holding one long freeze.
Concrete paver "brick" is a budget-friendly alternative, but clay brick generally holds its color and edges better over decades of exposure. If you're unsure which grade a supplier is quoting you, ask them to point to the SW stamp before you buy.
Tools, Materials, and How Many Bricks You Need
A standard project requires:
- Spade and lawn edger
- Rubber mallet and hand tamper
- Mason's line and a 2-foot level
- SW-rated clay pavers or concrete block pavers
- Crushed stone (paver base) and masonry sand
- Landscape fabric
- Polymeric sand for joints
To figure out how many bricks you need, run a rope around the bed's perimeter, pull it taut, and measure the length in inches. Divide by the brick's width, then add roughly 10% for cuts and future repairs.
Installation Steps Built for Northern Virginia Winters
A compacted gravel base, sand bedding, and solid edge restraint separate a border that lasts decades from one that shifts within a season.
- Mark the layout. Use a hose or spray paint to trace the bed edge; keep curves gentle so you avoid cutting bricks.
- Dig the trench. Most residential brick edging only needs a 4–6 inch trench, not the full structural frost line used for house footings. (For comparison, the Virginia Residential Code sets a baseline of
exterior footings placed not less than 12 inches below the undisturbed ground surface for load-bearing foundations, a different, deeper requirement than a garden border needs.)
- Add the base. Spread 2–3 inches of compacted paver base, tamping in lifts. The Brick Industry Association notes that
for residential applications with clay or silt subgrades, an additional 4 inches of aggregate subbase or base should be added, since more thickness may be required where the subgrade is susceptible to frost heave , which describes most of Alexandria's clay-heavy soil.
- Set the bricks. Press each brick against the bed edge and tap it level with a rubber mallet, adjusting the sand beneath until it sits flush.
- Check level every few feet. Use a 2-foot level rather than eyeballing the whole run.
- Cut for curves. Keystone-shaped bricks keep tight curves looking clean without visible gaps.
Mortar vs. sand set:
| Method | Cost | Lifespan | Best For |
|---|---|---|---|
| Dry-set (sand) | Lower, DIY-friendly | 10–15 years with occasional resetting | Straight runs, budget projects |
| Mortar-set | Higher, skilled labor | 25+ years, rarely shifts | Curves, high-traffic edges, permanent hold |
For mortar-set or larger runs, our hardscape contractor team handles the heavier base work that DIY installs often skip.
Finishing the Joints: Polymeric Sand
Sweep polymeric sand into the joints, then work it in with a dry brush. Unlike plain sand, it hardens once activated with water, locking bricks in place and resisting weed growth between joints.
Timing matters more than most DIY guides mention. Per RCP Block & Brick's installation tips, polymeric sand should cure for at least 24 hours without disturbing the surface, and rain within 48–72 hours can wash sand out of the joints before it sets . Check the forecast before you activate it.
DIY vs. Hiring a Pro in Alexandria
A single straight run of sand-set edging is a reasonable weekend DIY project if you have the tools listed above. Curves, mortar-set borders, or beds bigger than a small front yard change that math fast.
In our experience, most repair calls trace back to a skipped or shallow base layer, not bad bricks. The bricks themselves rarely fail; the 2–3 inches of compacted base underneath them does, especially in clay-heavy yards where water has nowhere to drain. If you'd rather skip the trial-and-error, the team at CM Hardscapes serves Alexandria and the surrounding region and can quote a sand-set or mortar-set border on the same visit.
FAQ
What Is Brick Edging Used For?
Brick edging defines garden beds, creates clean borders along pathways, and adds a decorative accent while keeping mulch and soil contained.
How Do Local Contractors Install Brick Edging?
Contractors prepare the trench and compacted base, lay bricks in the chosen pattern, and secure them with either mortar or compacted gravel and sand, depending on the project's traffic and budget.
Do You Need Mortar for Brick Edging?
Not always. Dry-set installation works fine for most residential beds. Mortar is better suited to high-traffic areas or tight curves that need extra rigidity and a permanent hold.
How Long Does Brick Edging Last?
A well-built border typically lasts 15–30 years, depending on base prep, whether it's mortar or sand set, and how many freeze-thaw cycles it endures each winter.
How Deep Should Brick Edging Be Dug?
Most standard brick edging needs a trench 4–6 inches deep: a few inches for compacted base material, plus the brick itself. That's shallower than the frost-protected footings required for structures, since edging isn't load-bearing in the same way.
Can Brick Edging Be Installed on a Slope?
Yes, but step the bricks in short level sections rather than following the slope continuously. Dig each section level, set the bricks flat, and overlap the next section slightly lower to create a terraced effect that holds soil and drains properly.
How Many Bricks Do I Need for Garden Edging?
Measure the bed's perimeter in inches, divide by the brick's width, and add about 10% for cuts, breakage, and future repairs. A typical 8-inch brick laid end to end needs roughly 1.5 bricks per linear foot.
Ready to start a project in Alexandria, VA? Request a free estimate and we'll measure your beds and quote sand-set or mortar-set options on the spot.